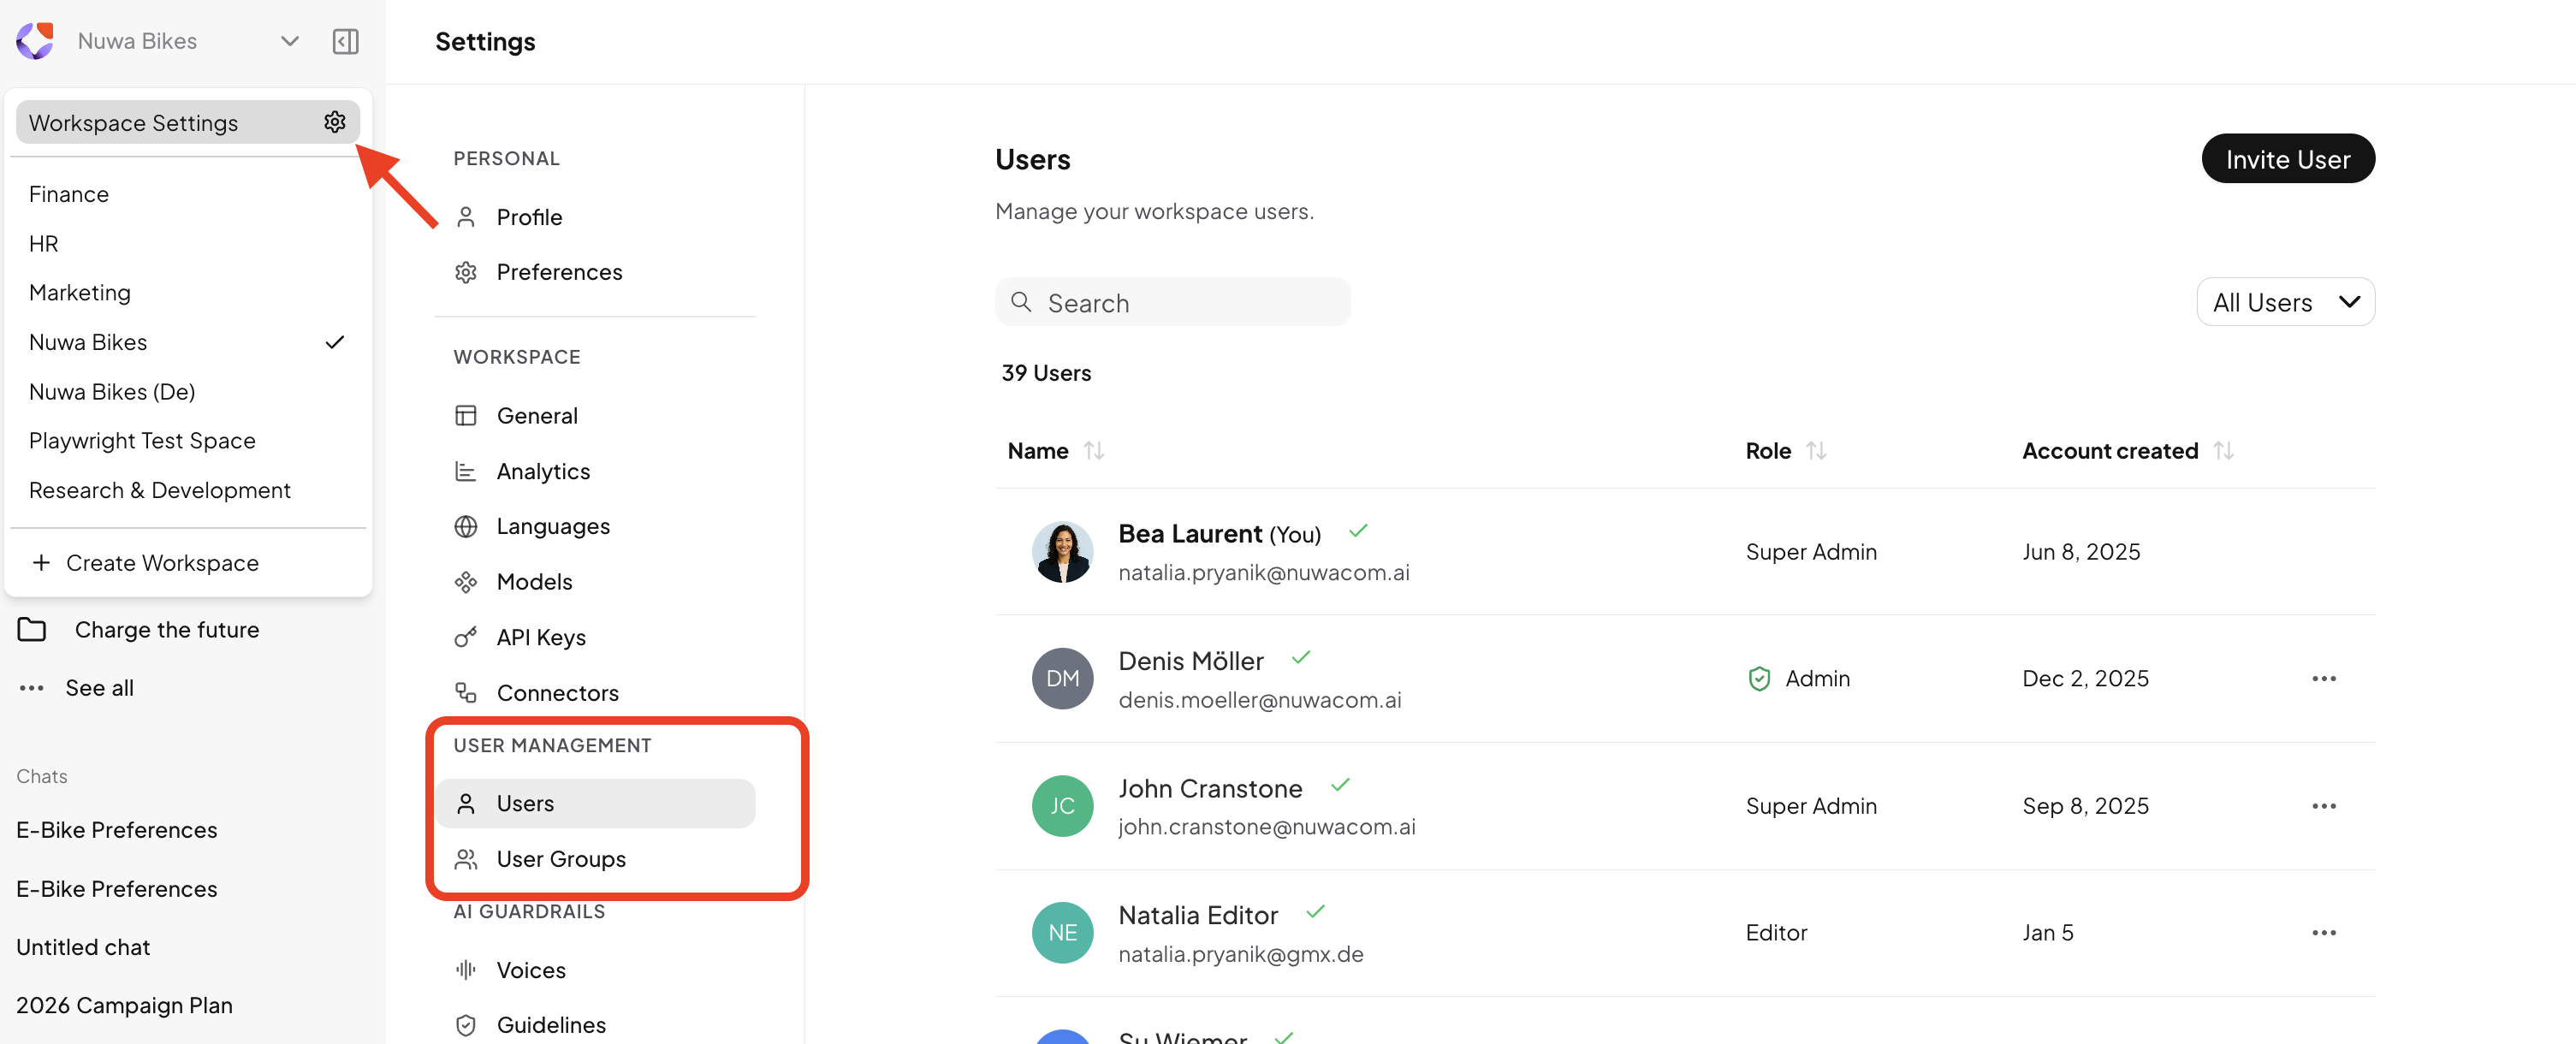
Only admins and superadmins have access to user management.
Invite and manage users
- Invite Users: Add new team members by email invitation.
- Invitation Status: See whether a user has accepted the invitation. If not, you can resend the email or remove the user.
- Assign Roles and Permissions: Each user is assigned a specific role with corresponding permissions, determining their access to features and data in the nuwacom platform. Your rights depend on the role assigned to you – such as Admin, Editor, or Viewer.
Note: Users must be invited to each workspace individually.
User Groups
- Share content with a single user group instead of individual users.
- Complete recurring sharing tasks in seconds.
- Update the group once and automatically adjust access everywhere.
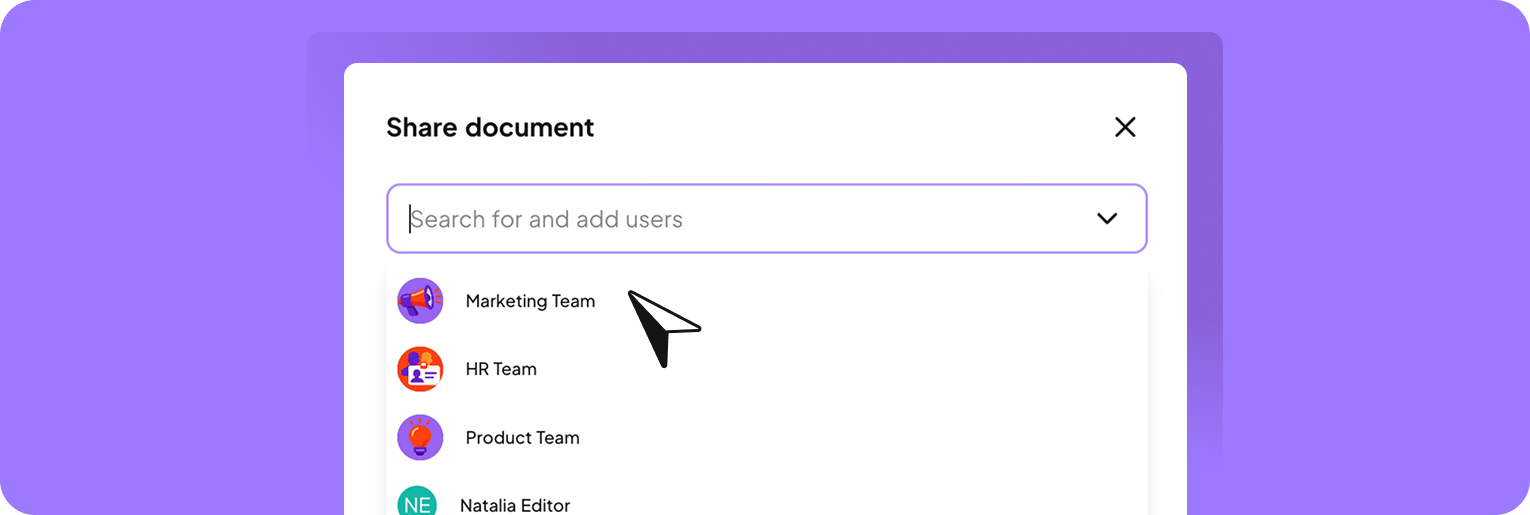
Share a knowledge folder by selecting the user group “Marketing Team” with the permission Edit in the sharing dialog. All members of this group will receive editing access to the folder. Other members of the workspace will not have access. How it works
- Open the workspace settings.
- In the left menu, navigate to User Management → User Groups.
- Click Create group in the top right.
- Enter a name for the user group.
- Optional: Upload an icon or avatar for the group.
- Click Next.
- Add users via search with a click.
- Click Create group to create the group.
Who can create and manage user groups?
Who can create and manage user groups?
User groups can be created and managed by admins and super admins.
Can admins see all user groups?
Can admins see all user groups?
Yes. Admins can see all user groups in the workspace, regardless of their own membership.
When do I see a user group?
When do I see a user group?
You see a user group if you are a member of that group or if you have admin rights.
Am I automatically a member when I create a group?
Am I automatically a member when I create a group?
Yes. The creator of a group is automatically added as a member.
What permissions can I assign when sharing with a group?
What permissions can I assign when sharing with a group?
When sharing an item, you can assign read or edit permissions, just as you would for individual users. These permissions apply to all members of the selected group.
- Read: View content, but not edit it.
- Edit: View, edit, or delete content.
- Remove access: Revoke sharing at any time.
What happens if group membership changes?
What happens if group membership changes?
New members automatically gain access to all items shared with the group. Removed members lose access accordingly.
Roles and Permissions
The table gives you an overview of the roles and their respective access rights within the AI platform. Each role has specific permissions that regulate your access to certain features and data.The table shows the default permissions for each role. For Editors and Readers, these can be customized individually per workspace, and specific features can be activated or deactivated as needed.
Manage Permissions
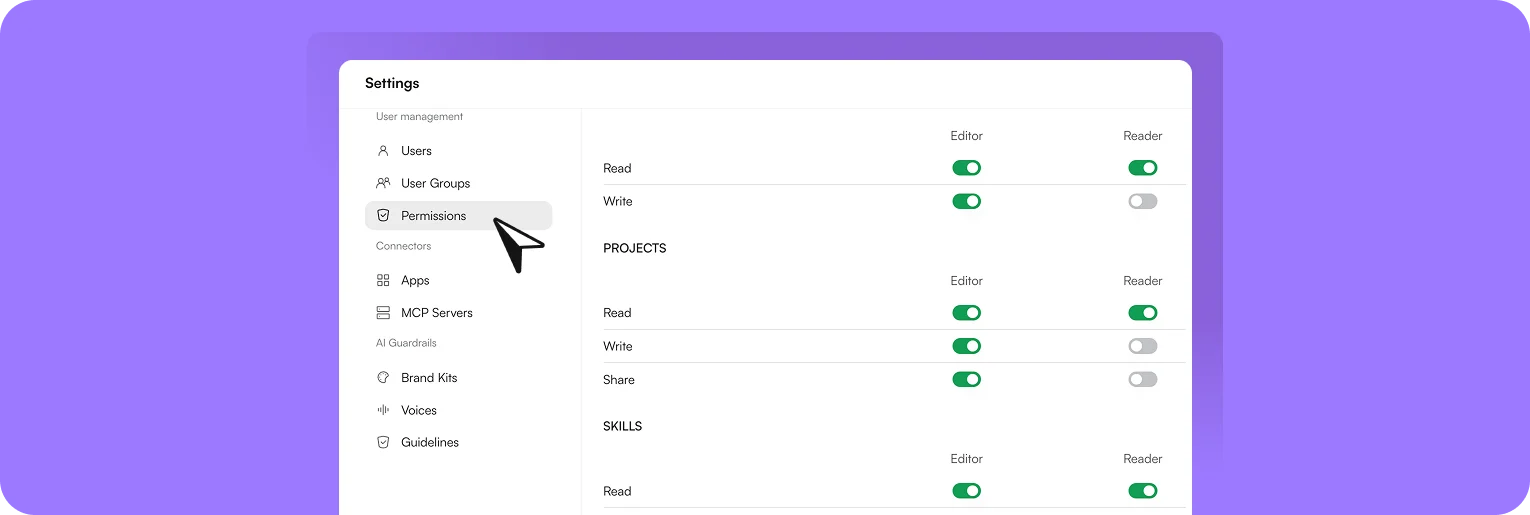
Admins always retain full access and cannot be restricted.