You’ve just joined a platform designed to simplify how your team works with knowledge, documents, and AI. This guide walks you through your very first steps — from logging in, to setting up your brand, inviting your team, and trying your first real use cases. By the end, you’ll be ready to collaborate and create confidently with AI.
What is nuwacom?
Imagine one workspace where all your knowledge, tools, and conversations are connected. That’s nuwacom. Instead of jumping between SharePoint for documents, Slack for communication, and Google Drive for files, you now have a single place where:- Your knowledge sources are connected.
- AI helps you research, create, and organize content.
- Your team collaborates in real time.
1. Login & Access
Before you can explore, let’s get you signed in.- open nuwacom
- New user? Click Sign up and register with your email.
- Existing user? Just log in with your email and password.
- Forgot password? No worries — click Forgot Password? and follow the reset instructions.
- If your company uses Single Sign-On (SSO), you can log in using Microsoft or Google without creating a separate password.
2. Define Your Brand
Your company has its own tone, style, and way of communicating. Teaching that to your workspace is one of the most important first steps — it ensures AI-generated content feels like you, not like a generic assistant.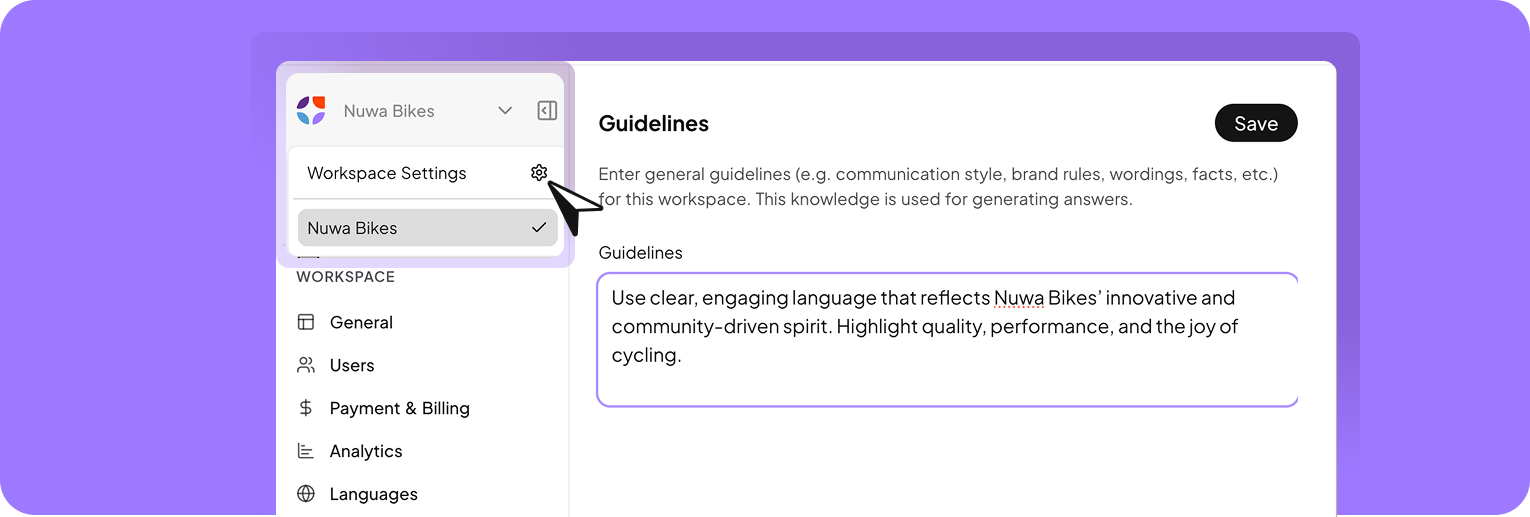
- Open Workspace Settings > General.
- Set up your workspace by uploading a recognizable logo (e.g. company, department, or project) and choosing a clear, descriptive name such as Nuwa Bikes.
- Open Workspace Settings > AI Guardrails.
- Define your brand voice: should content be professional, approachable, playful, or strictly formal?
- Add rules:
👉 Once guardrails are in place, every blog draft, email, or social post the AI creates will respect your company’s identity. Learn more.
- Words and phrases to avoid.
- Examples of your “on-style” and “off-style” writing.
3. Invite Users & Set Roles
nuwacom works best when your team joins in. Each person gets the right level of access depending on their role.
- Super Admin – manages all company workspaces, billing, and global settings across the organization.
- Admin – manages users, workspaces, connectors, and guardrails.
- Editor – creates and edits content, uploads docs, collaborates in projects.
- Viewer – can read, but not change content.
- Go to Workspace Settings > Users.
- Click Invite User.
- Enter their email address and select the right role.
- The person will receive an invitation email.
4. Use the Chat & First Prompt
Now it’s time to meet the heart of nuwacom — the Chat.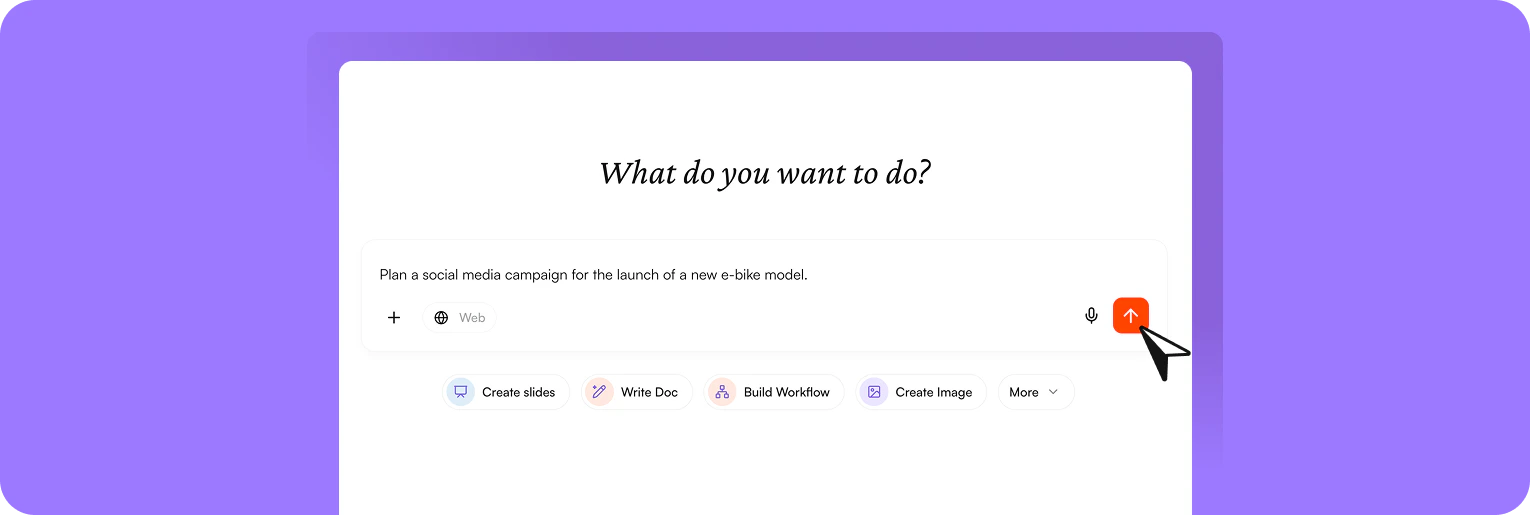
- Ask questions based on your documents.
- Search the web in real time.
- Use saved prompts for repeatable tasks.
- Open a new Chat.
- Type: “Summarize last quarter’s sales deck into three takeaways for leadership.”
- Upload the Sales Deck document and watch the AI highlight the key insights for you.
- Use a follow-up prompt (e.g., “Create an executive summary”) to structure the result.
5. Try Some Use Cases
Now, you know the basics. Test nuwacom with real scenarios your team faces every day – for example, by working on typical tasks like creating documents, drafting emails, building presentations, or conducting research.
- Upload a complex document and let the AI summarize it in seconds
- Quickly understand long reports or presentations
- Ask follow-up questions in chat to explore specific details or insights.
- Open the chat and type “Draft a LinkedIn post.” Add context — such as the topic, target audience, and communication goal — either in your message or by attaching a document. The AI then uses this information to generate a precise, well-aligned draft.
- Apply your brand voice to keep it consistent.
- Edit in AI editor.
- Share with colleagues to edit with you in real time.
- Upload a PDF, PowerPoint, or Word doc.
- Ask: “Highlight the risks” or “Explain this in plain English.”
- The uploaded file will be stored in Knowledge Base>Private files for future search.
- Open chat and click Create Image to create blog visuals, campaign graphics, or diagrams.
- Add brand styles like logos or colors for consistency.
- Ask: Create a social media image for our new electric bike launch. Use our brand colors and show a modern city background with a rider on an e-bike.
6. Create & Manage Prompts
Soon you’ll notice you’re asking AI the same types of questions. Prompts let you save these instructions so you don’t start from scratch each time. What to do:- Go to Prompts.
- Browse pre-built prompts (e.g., “Create a blog post”, “Create a LinkedIn post”) — available with the Teams plan.
- Create your own and save it for reuse.
- Share it with your workspace so everyone benefits.
7. Create & Manage a Project
Projects help you keep everything related to a goal in one place. Imagine planning a product launch: you’ll have research, content drafts, meeting notes, and images all connected.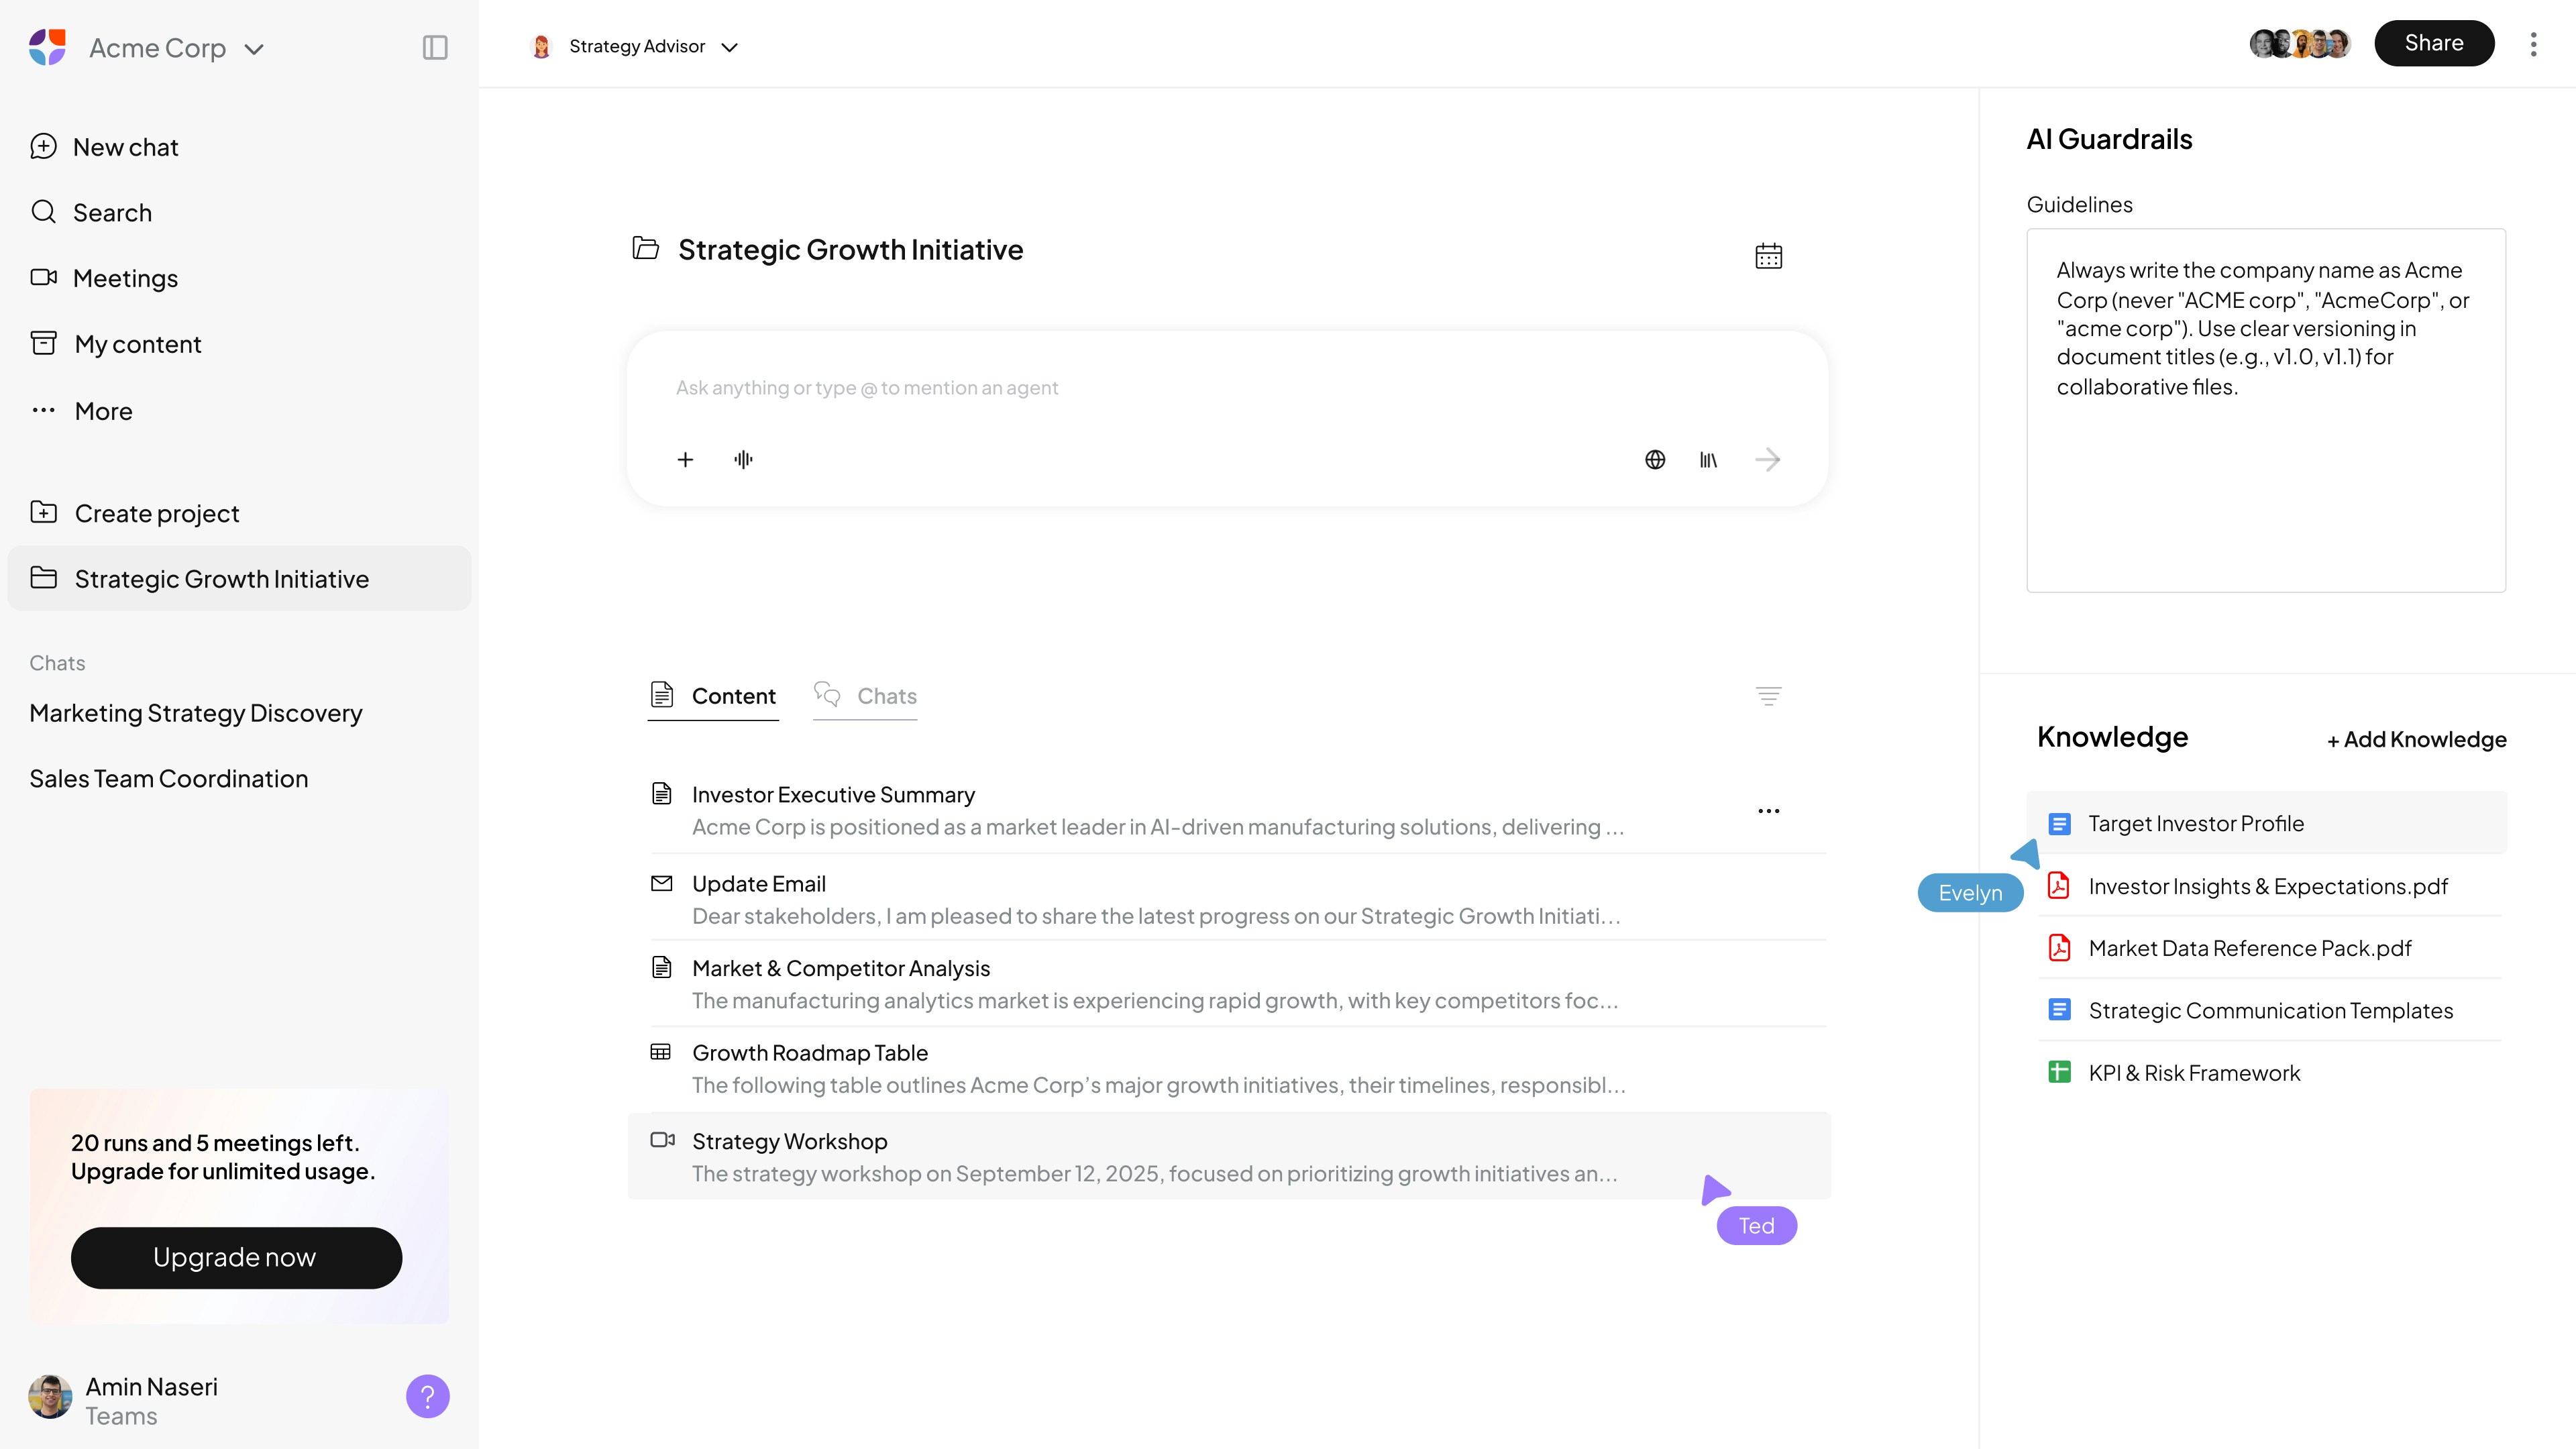
- Go to Projects and create a new one.
- Add files to your project — it will be used as context for all chats and documents.
- Add AI guardrails (e. g. communication style, brand rules, wordings, facts) which will be considered in the whole project
- Use it to generate multiple outputs: blog posts, newsletters, social posts — all consistently based on the same knowledge.
- Assign responsibilities to teammates and track progress.
8. Record Meetings & Automate Follow-Ups
Capture meeting content in one place with or without a bot.Record meetings directly, use the Meeting Bot, or add manual notes. Transcripts and summaries are generated automatically and combined with your own input.
- Record your meeting through nuwacom.
- AI generates a summary, key decisions, and action items.
- Share them with participants or link them directly to an ongoing project.
9. Share & Collaborate
Finally, nuwacom is about working together. You can share documents, prompts, or entire projects with teammates.
- Click Share on any item.
- Collaborate in real time — see updates instantly, just like in Google Docs, but with AI helping in the background.
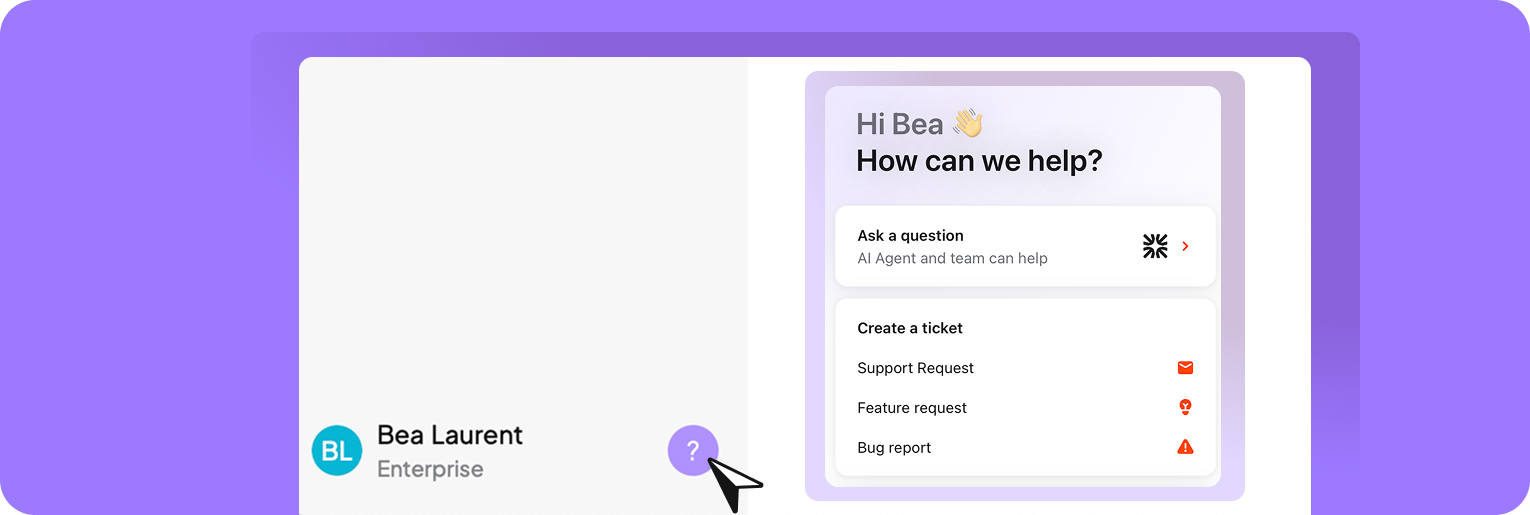
Need help?
We’re here for you. You can reach our nuwacom-Bot or our team anytime right from your app. Just open the support messenger at the bottom left. Ask a question or browse our Help Center for quick answers and step-by-step guides.