Prompt Library
You can choose between predefined prompts and custom prompts tailored to your specific use cases. Standard Prompts are predefined instructions developed by our team to automate common tasks efficiently and ensure consistency across the platform. Categories help you find the right prompt for various use cases:
- Brainstorming – For ideation and creative processes.
- Email – For standardized and professional email templates.
- External Comms – For external communication such as press releases, blog articles, or website texts (like in the current view).
- Image Tools – Image-related prompts, e.g., to generate image descriptions.
- Internal Comms – Internal communication (e.g., team newsletters).
- Research – For researching, structuring, and summarizing.
- Social Media – For posts, captions, and campaign ideas.
- Text Tools – Tools to optimize language, tone, style, etc.
- Archive – For saved or older prompts.
- (Your own categories)
How to create prompts
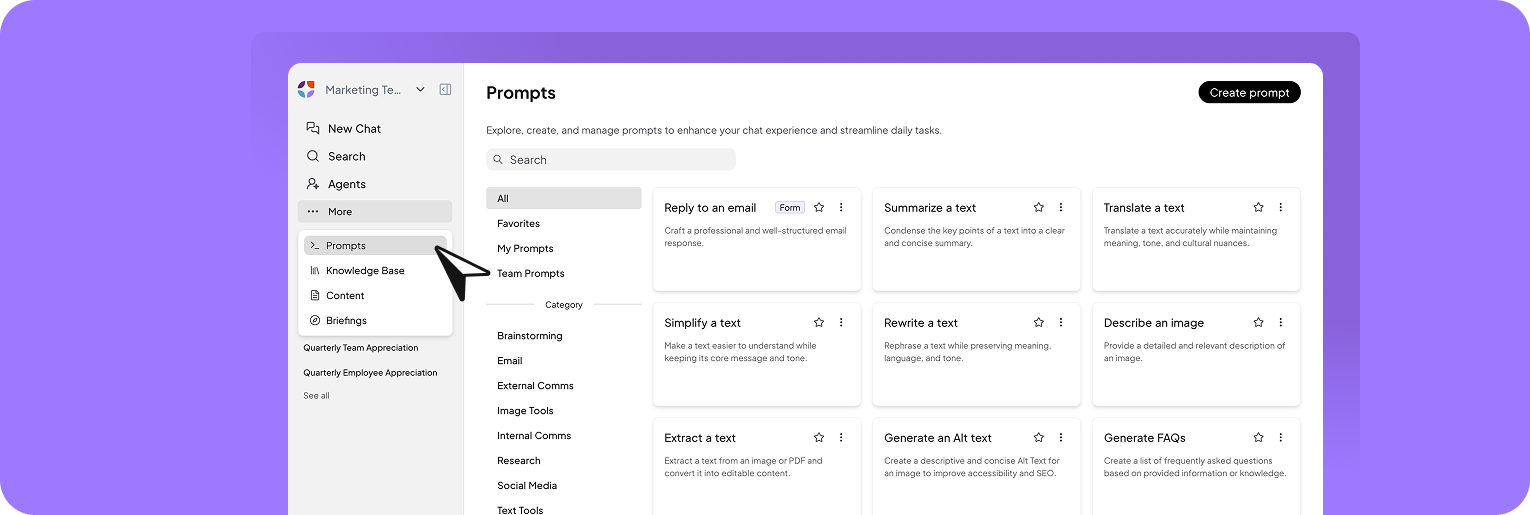
1. Go to the Prompts section
This is your starting point for creating and managing prompts. Click the “Create Prompt” button to craft a prompt tailored to your workflow.
By default, newly created prompts are private and only visible to you. Once you’re done, you can share it with your team by clicking the share icon.
2. Enter title, category, and description
Provide a clear and descriptive title. Choose an appropriate category to keep your prompts organized and easy to find. Add a detailed description explaining the purpose and usage of the prompt.3. Write the instruction
You have two options:- Write the instruction manually
- Let the AI generate it
Define your expectations, assign a role to the AI, and describe the specific action. Define variables for more precise results
Variables are especially helpful when creating your own prompts that require specific inputs. When a user selects a prompt, the defined variables appear in the input field and can be filled out individually, depending on the task. This ensures all relevant information is captured for accurate results. Example – Variable:
Define variables by using curly brackets
{} or by clicking the “Variable” button.

Click the “Generate” button to let the AI create a detailed instruction. Simply provide a short description — ideal if you’re short on time or unsure how to phrase your instruction. The AI will generate a structured and accurate prompt, improving the quality and efficiency of the interaction.
4. Select where the prompt appears
Choose the area in your workspace where the prompt should be prioritized: Editor, Chat, or Create.5. Save the prompt
Once you’ve filled out all fields, click “Save.”Mark as Favorite
Use the star icon to add the prompt to your favorites and access it faster in the library.
Share
Use the share icon to share the prompt with specific people or the entire workspace.
Duplicate
The duplicated prompt opens directly in edit mode and can be adjusted — ideal for similar use cases.
How to create a Form
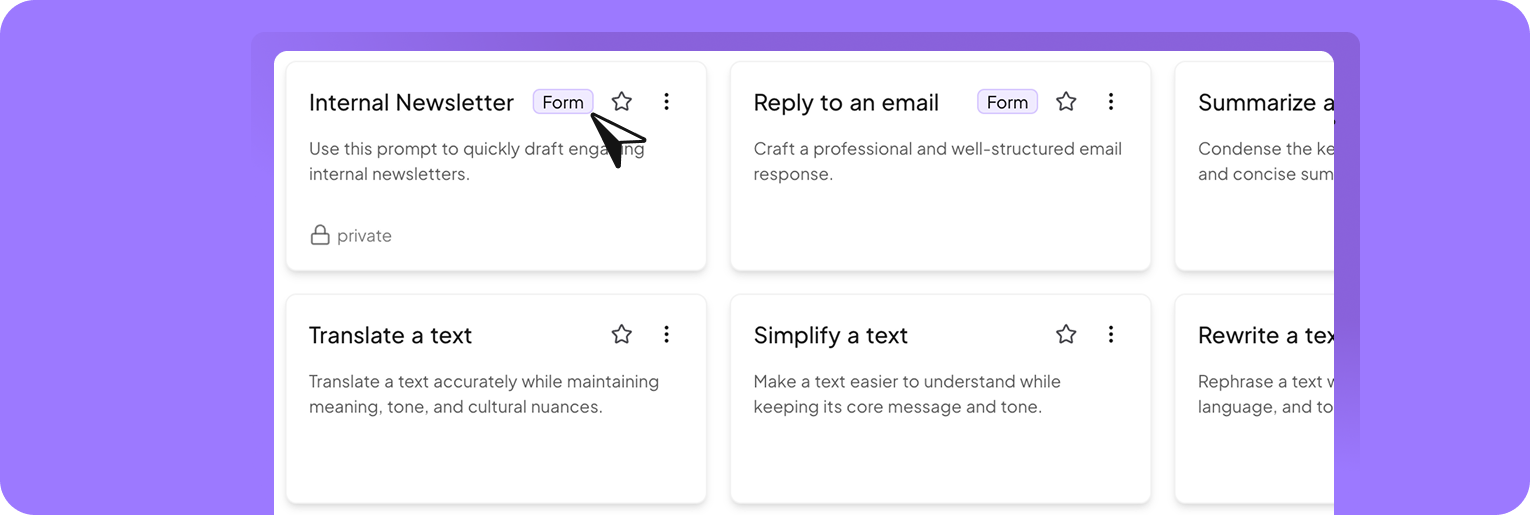
Forms are ideal when certain information needs to be collected in advance — such as the topic or target audience for a social media post. How it works:
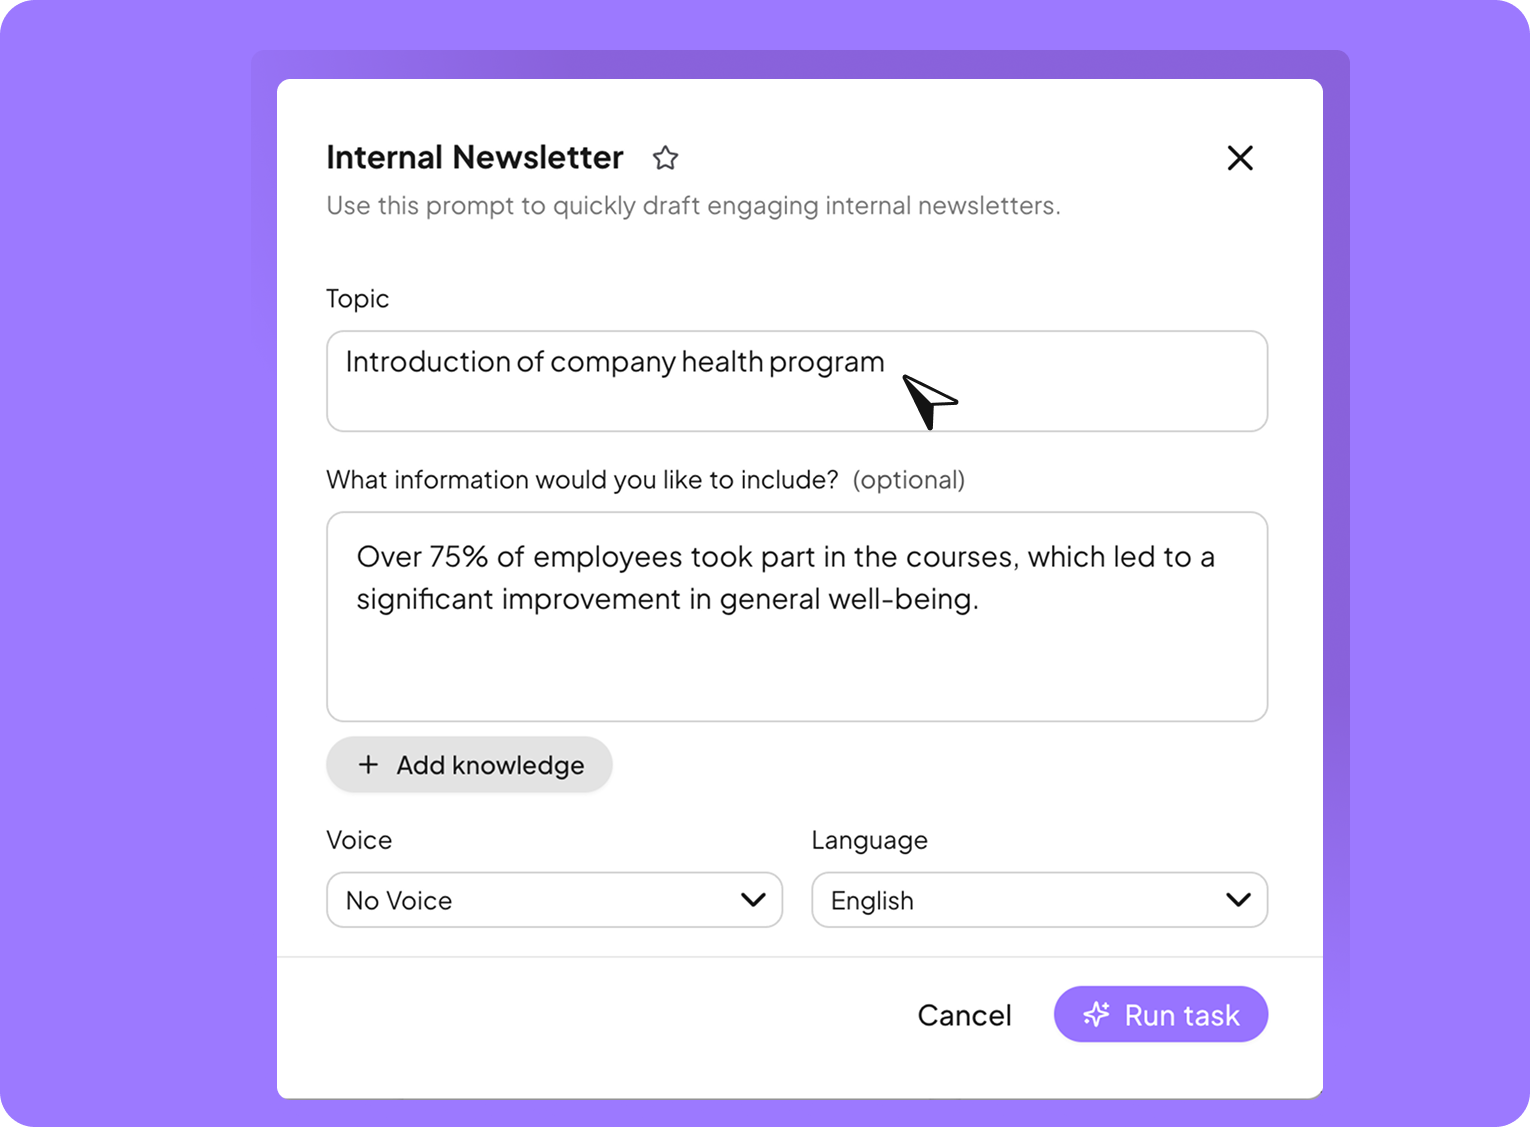
- Create a clear instruction for your prompt and add variables to capture the specific inputs you need.
- Enable “Display as form” option to show the variables as fillable fields.
- Prompt opens as a form: When users click the prompt, they’ll see a structured form. This ensures all required details are provided before the prompt runs.
This form appears when the prompt “Internal Newsletter” is selected. The “Topic” input field is defined via a variable.
Where can I run prompts?
- In the Prompt Library: Execute prompts with a single click.
- In the Editor: Highlight text, then use the “AI” button in the toolbar and select your prompt under “Prompts.”
- In the Chat: Prompt suggestions will appear automatically as you begin typing in your chat.
- In Content and Collections: Prompts are also available as templates when creating content and can be executed instantly.